If you really want to just start hammering on a pan, by all means do so, but you'll find that it's noisy and that the drum wants to move around the room as you pound it. The energy you're expending when you swing the hammer is going into moving the drum and not stretching the steel, which is inefficient. If you're only making one pan for fun, that's ok, but doing this as a career means that I'm looking for every mechanical advantage that I can find.
I started development of this sinking station system in about 1995. It's been through a few refinements along the way, and what I'm describing here is the system in its current form. There are essentially four components to it - the Lower Base, the Lazy Susan, the Rotating Base, and the Mini-Clamps. The Mini-Clamps will be covered in a separate post.
Lower Base
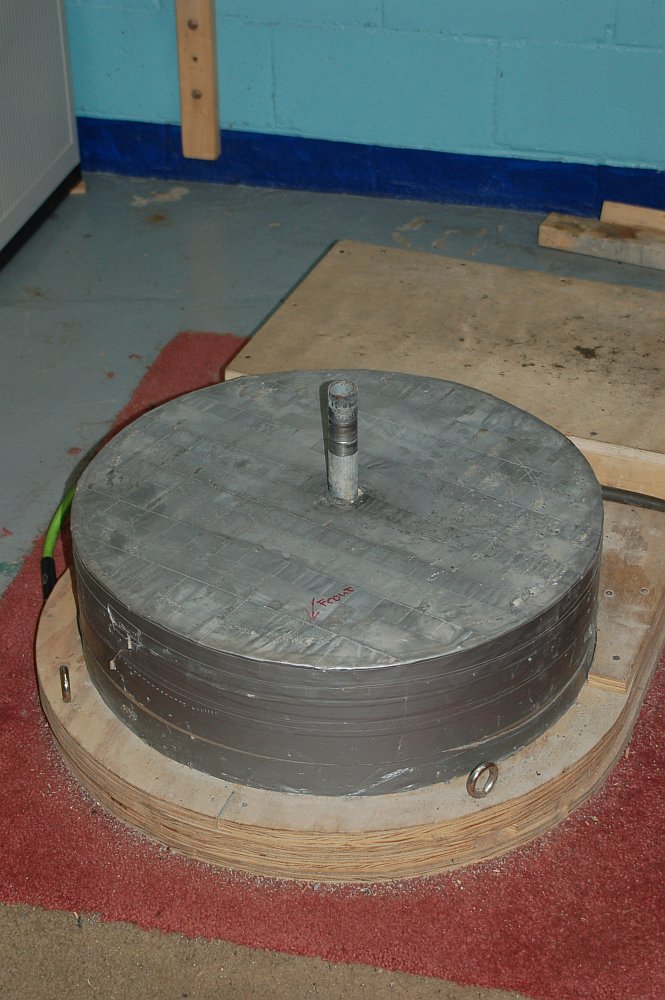
The Lower Base is made from a section of a barrel, about 10" tall, filled with about 250lbs (100kg) of concrete. There's a 2" metal pipe mounted in the center of it, that extends about 6" above the concrete. Inside the concrete this pipe is attached to an H-frame assembly. This pipe forms the center-post around which the pan can be rotated when I'm working on it.
I covered the exposed concrete with duct tape to seal it, and prevent concrete dust (not good to breathe) from coming off the base as I hammer on the pan.
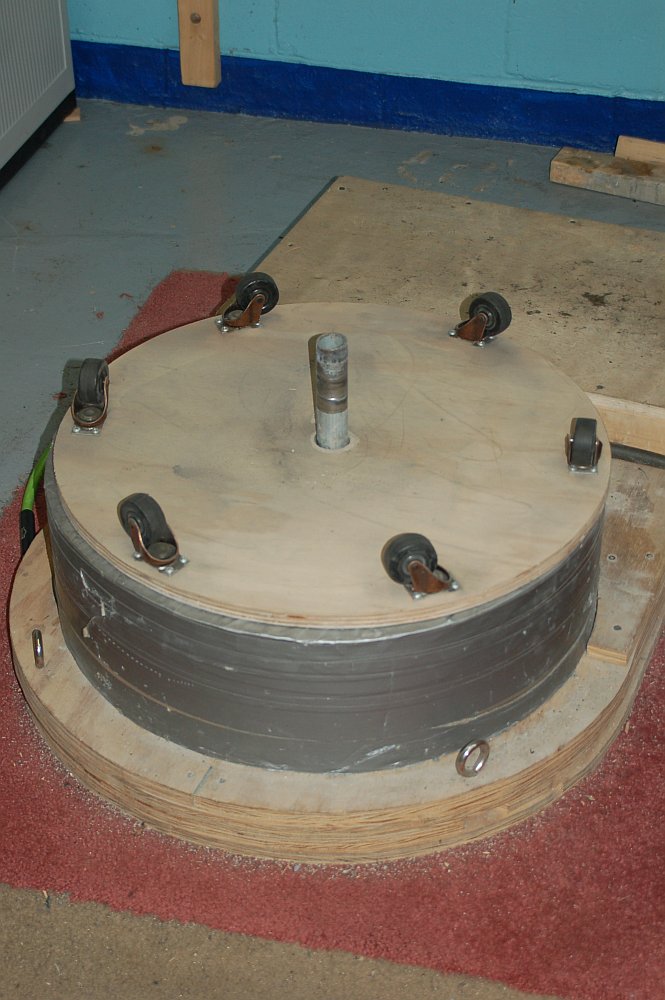
I mounted six 2" swivel casters to a plywood disc. The plywood has a hole drilled in the center that fits exactly over the center-post.
Update #1 - I eventually replaced the swivel casters with standard 2" non-swivel casters. The bearings on the swivel mechanisms gave way after about 6 years of steady use.
Update # 2 - I modified this after the photo was taken to use 12 casters instead of 6. This allowed a little more freedom in turning the pan as I was sinking it. The extra 6 casters were mounted in between the 6 shown in the photo, about 2" closer to the center-post.
Lazy Susan
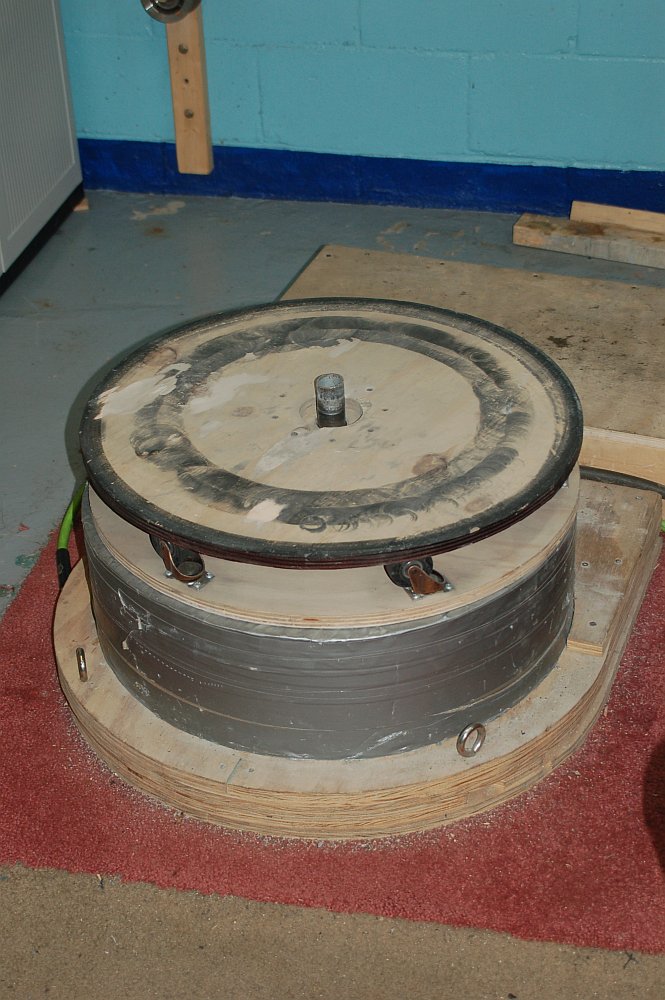
On top of the casters I place a 24" diameter 3/4" thick plywood disc with a hole drilled in the center. This fits over the center-post, and is free to rotate. The hole is a snug-but-not-tight fit around the center post.
Rotating Base
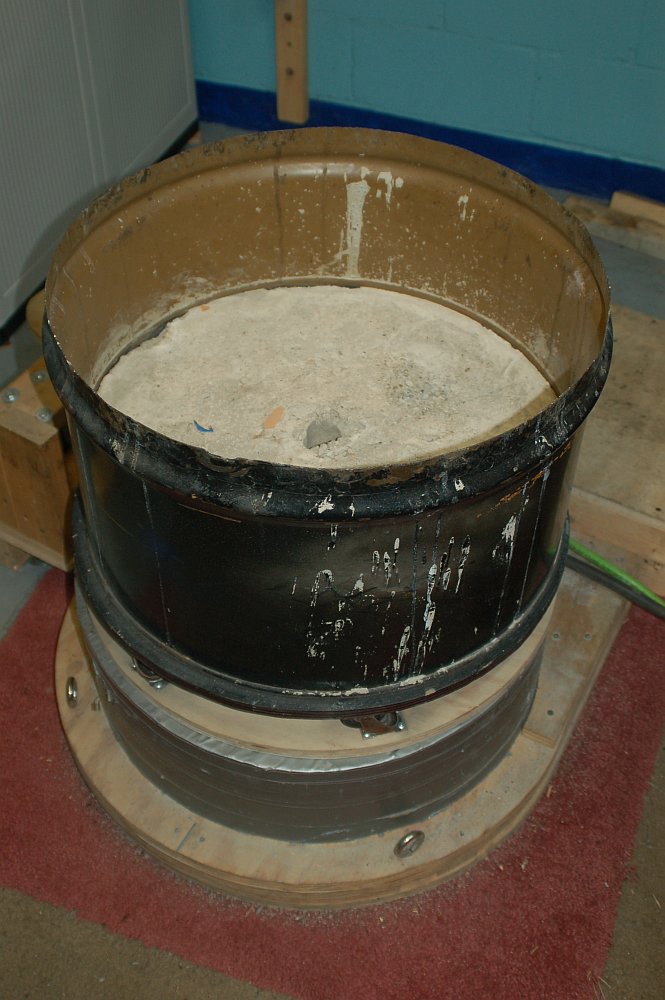
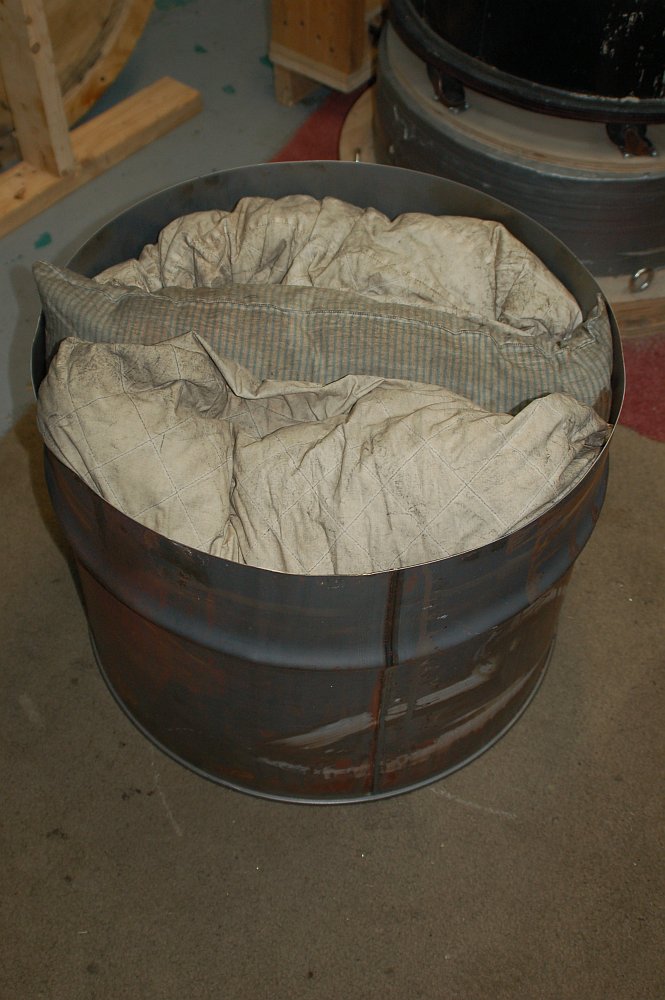
I took the unused end of a barrel and cut a hole in the center to fit over the center-post on the Lower Base. Then I placed a plastic pipe over the hole. The plastic pipe is just bigger than the center-post, and will act as a bushing around it.
Once I had the plastic pipe accurately positioned, I taped it in place with Gorilla Tape and filled the unused barrel with another 250lbs (100 kg) of concrete. I used a small engine crane to lift the barrel onto the Lazy Susan assembly.
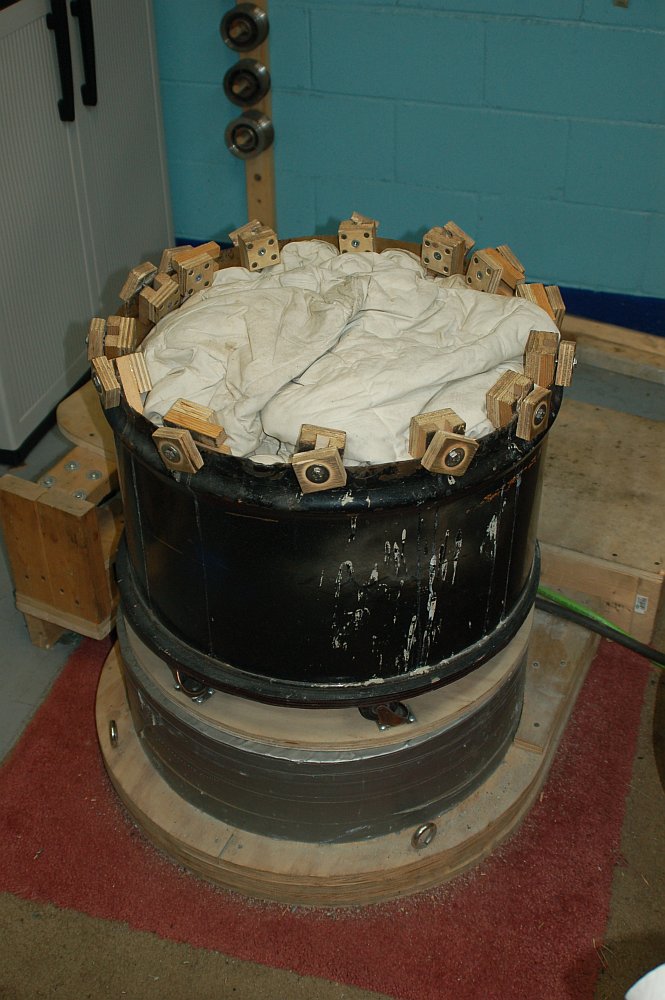
When I'm hammering, I fill the Rotating Base with an old comforter/duvet/pillows.
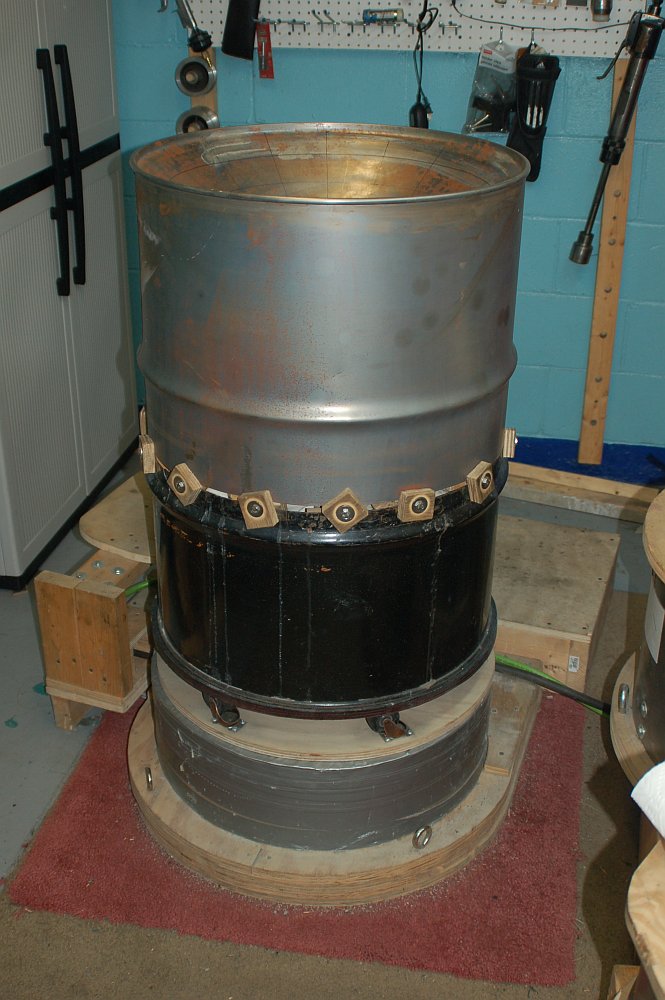
I made 14 miniclamps (their construction is shown in another blog post) which are used to mount the actual pan to the Rotating Base.
Since I make pans of varying diameters, I can simply replace one Rotating Base with another of a different diameter as needed.
Before mounting the actual pan to the Rotating Base, I fill the pan with old pillows/comforters. Neither the skirt of the pan or the head of the pan should ring at all once it has been stuffed.
When this is mounted on the sinking base, it should produce a very "dead" sound - there should be no undamped spaces.
The pan mounted to the Rotating Base, and ready to sink.
This assembly has proved very stable to work on; I've made no changes to the concept since 2010.
This system has proved itself as a very efficient way to hold a pan down while it is being worked on. The Lower Base is mounted (freely) on a wooden hinged platform that can be tipped back about 35 degrees. I'll post about this later.
Tipping it back is a useful way to relieve stress on your body while you're hammering.
