Update December 25th
Extra! Extra! Read all about it!
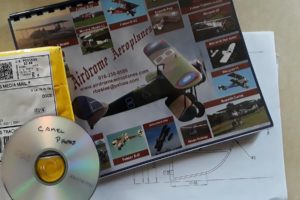
The plans arrived late on the afternoon of the 24th.
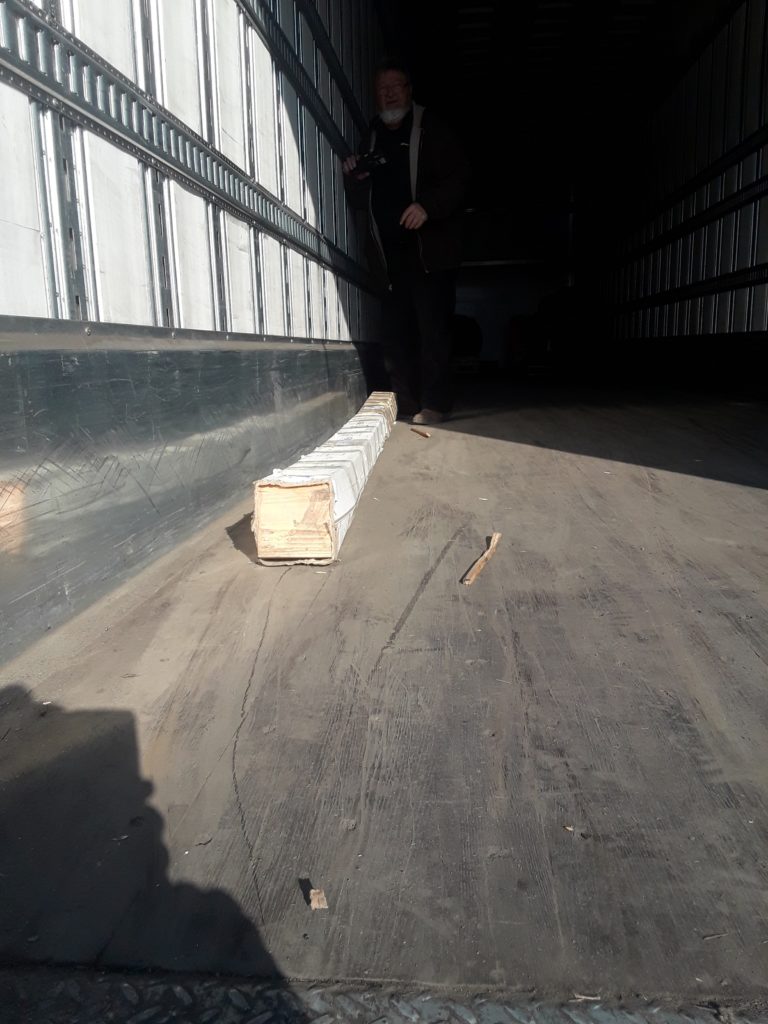
The Fuselage and Rudder kits were ordered at the beginning of November, and arrived on December 13. There'd been a bit of messing around getting these to me; the shipping company that Airdrome Airplanes used took forever to get to me with a price for the shipping.
After I paid for the shipping in mid November, the shipping company never alerted the actual freight company that it was a go, and I had to make a few phone calls to get them to move. By this time I was scheduled to go on a 10 day pan tuning trip to Florida, which meant there would be no one at the shop to receive the kit. I ended up telling them to wait until I was back in town, and the parts arrived on the 13th.
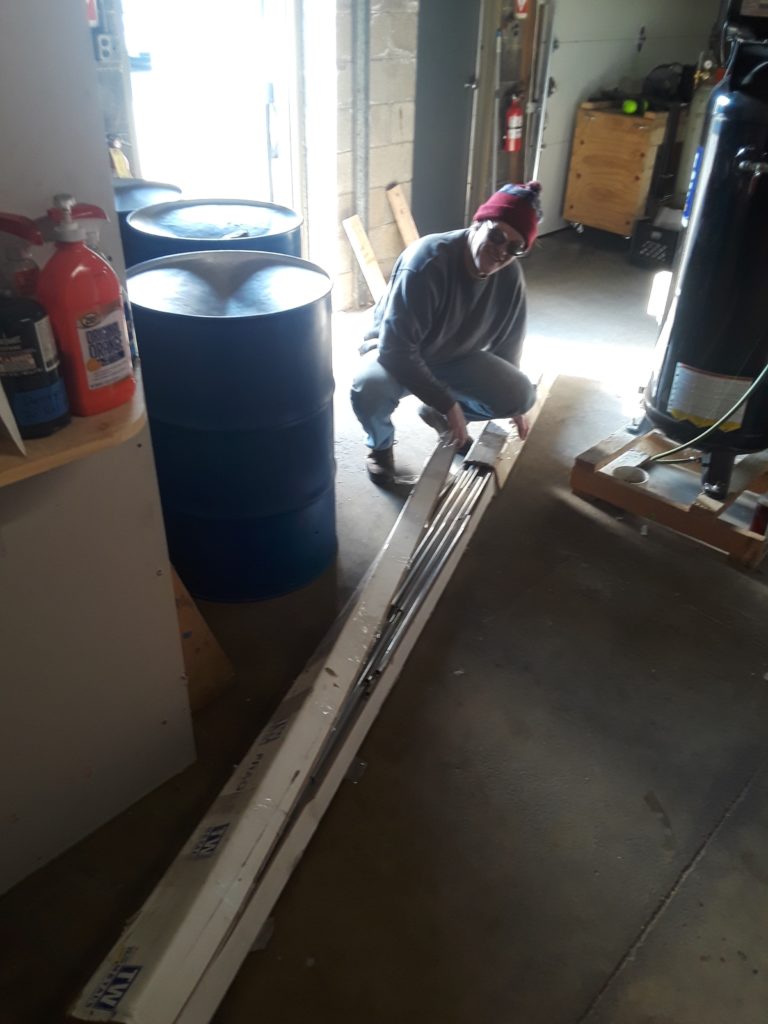
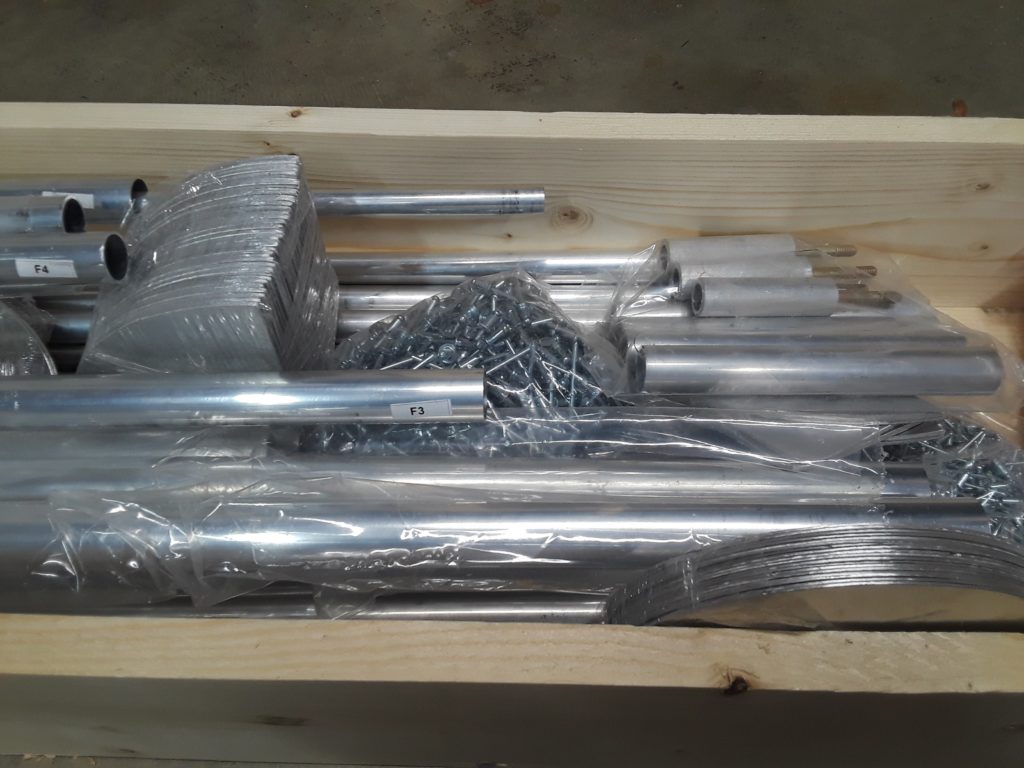
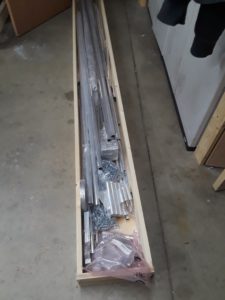
The box seemed awfully small to contain the fuselage and rudder of a Sopwith Camel. When I opened it, I was quite surprised at the packing density of the materials; every tube that could be slid into another tube had been done so. I guess I had also expected that I'd just get a bunch of tubing that needed to be measured and cut, so I was very happy and impressed to see that everything seems to have been pre-cut and labelled.
I say "seems to have been" because two weeks after getting the kit, I still don't have the actual plans. I've emailed and called Airdrome Drome, and Robert says that he had the plans mailed out on a CD so I guess I'll see them eventually. I would have hoped that the plans would have been shipped out the day the kit was, but that clearly isn't the case as its been two weeks and I still haven't seen them.
In the meantime, I made a solid wooden box to store the parts in, and I've purchased some trestles/saw-horses and a four wooden doors that I'm going to use to make a work-bench that I can set up and tear down with ease. I'm hoping this is going to be the way to go. I'l post some pics of the workbench when I set it up.
